Project 4-IoT-Internet of Things
Overview
Organizations need to be able to incorporate and deal with the Internet of Things (IoT) as this technolgy becomes pervasive.
This project will introduce Single Board Computers (SBC) in the form of a Raspberry Pi, and microcontrollers in the form of an Arduino Uno and a micro:bit.
A number of exercises will be done to familiarize you with each device.
Then you will experiment with other devices made from these components which perform differing functions.
You can work together and help each other on this project, but each student must hand in their own work.
Preparation and Background- Must Complete Before Beginning work on advanced applicatons for Project 2.
Begin this by completing these exercises to learn to:
- IOT00-Raspberry Pi 3 B+-flash, install, configure operating system
- IOT01-Raspberry Pi 3 B+-flash, install, configure operating system
- IOT02-Raspberry Pi-learn VNC-Virtual Network Computing
- IOT05-Raspberry Pi-create web servers
- IOT06-Raspberry Pi-modify web pages
- IOT11-Raspberry Pi-MagicMirror Information Kiosk
- IOT12-Raspberry Pi 3 B+-use Node-RED low code
- IOT13-Raspberry Pi 3 B+-connect with GrovePi+ sensors
More Internet of Things
Items below are examples of what else can be done with the Raspberry Pi single board computer.
See Professor Paulson for more details on creating these applications.
IOT04. Internet of Things: Wi-Fi Monitoring
You will install and run WaveMon to monitor your wireless network connection running on a Raspberry Pi.
reference: https://www.raspberrypi-spy.co.uk/2014/10/how-to-use-wavemon-to-monitor-your-wifi-connection/
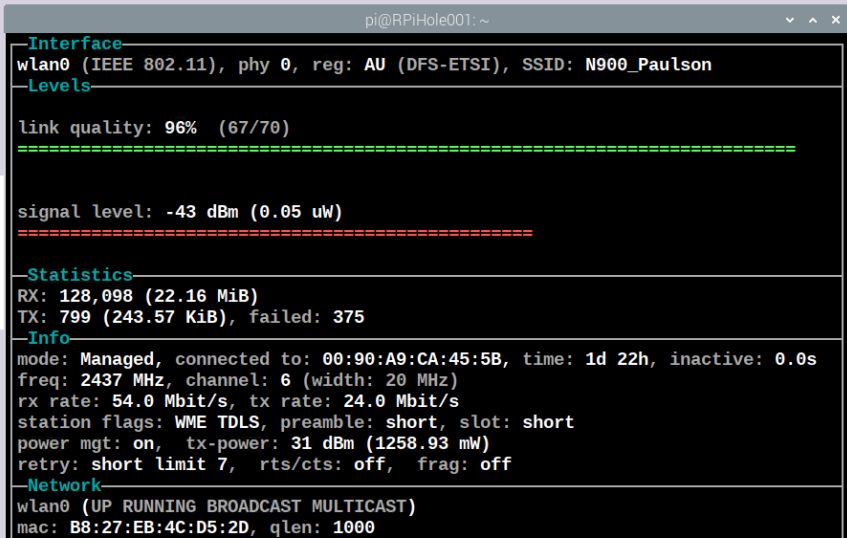 Wave Mon Output
IOT05. Apache2 Webserver on Raspberry Pi
You will install and run Apache2, a webserver.
reference: https://pimylifeup.com/raspberry-pi-apache/
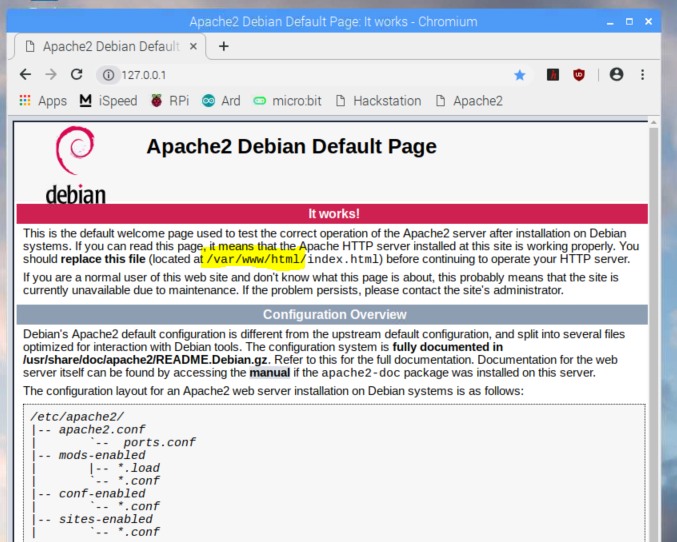 Apache2
IOT03. Attach to Partner's Apache2 Webserver
You will work with a partner and use VNC to attach to their webserver on their Raspberry Pi.
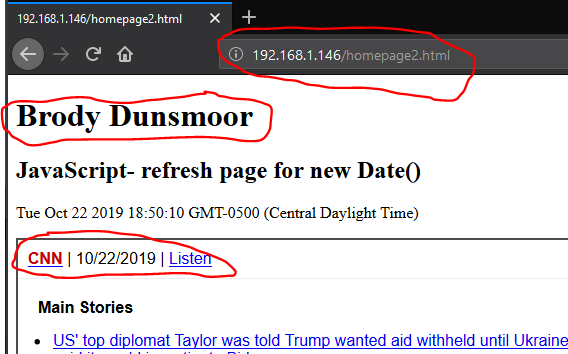 Partner's Apache2 Webserver
IOT07. Zenmap on Raspberry Pi
You will install and run Zenmap, a webserver.
reference: https://nmap.org/zenmap/
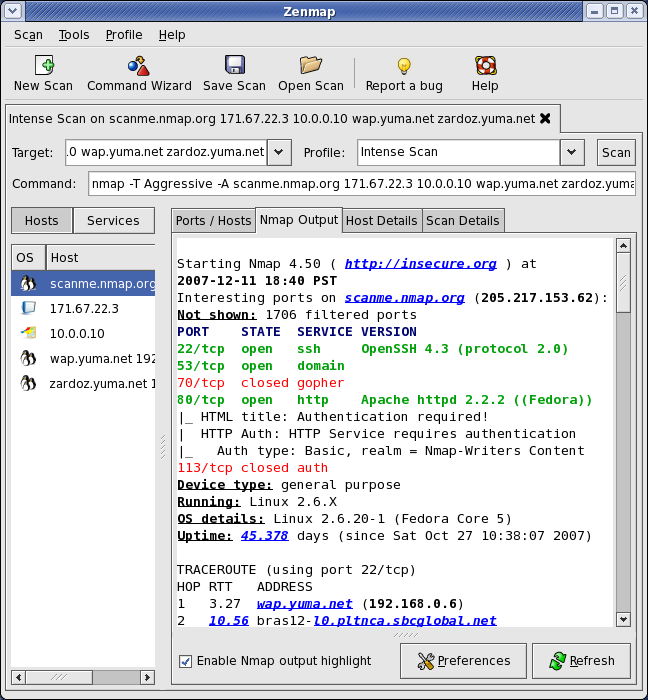 Zenmap Output
IOT08. Nagios Core on Pi Project
You will install and run Nagios Core on a Raspberry Pi, a website monitoring tool available for the Raspberry Pi.
reference: http://www.linuxandubuntu.com/home/install-setup-nagios-core-on-raspberry-pi
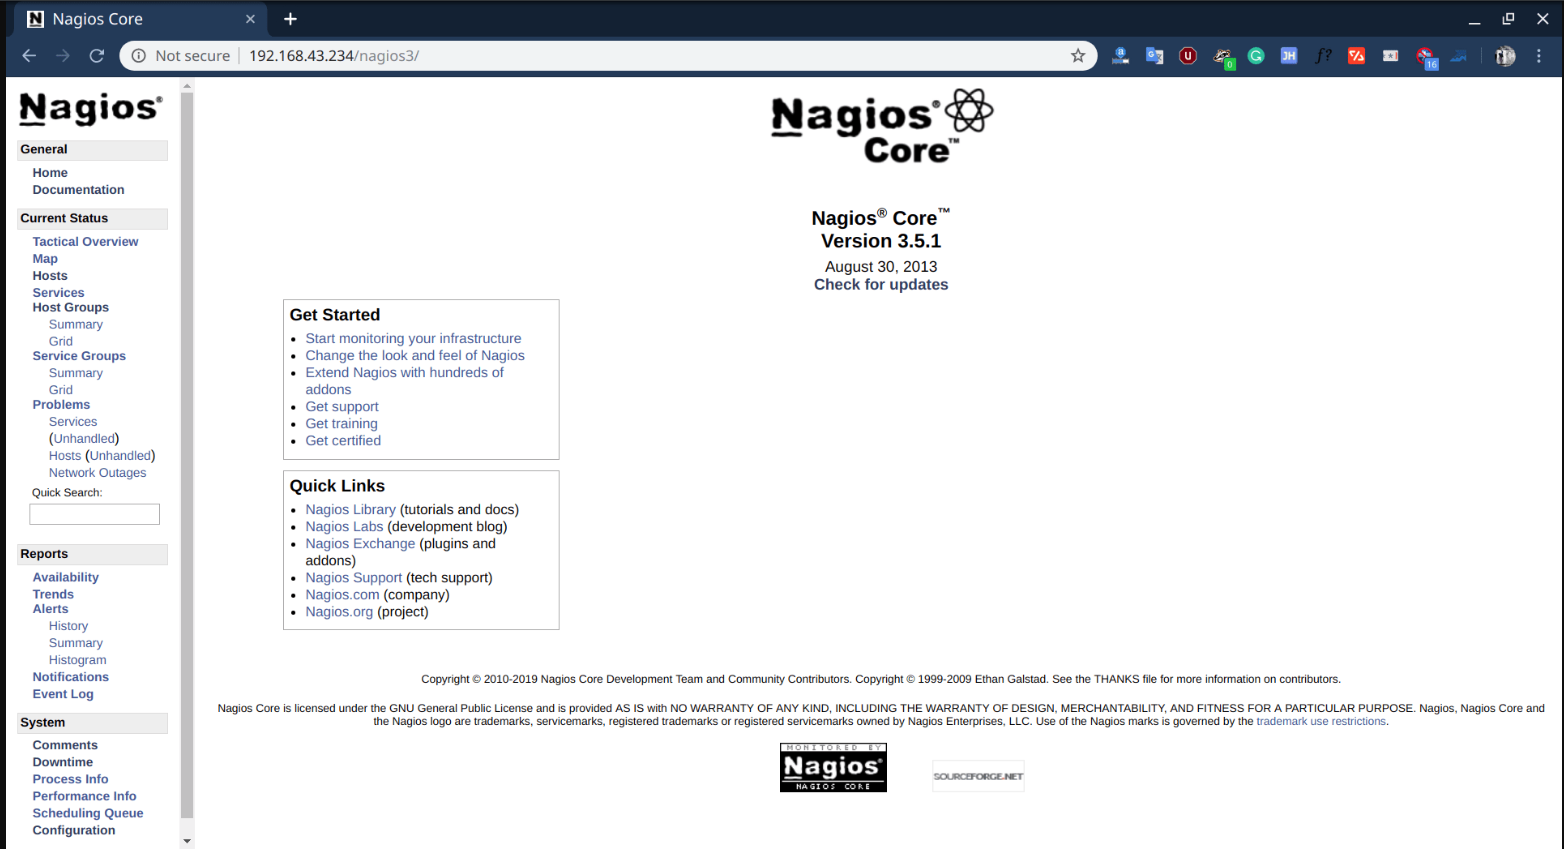 Nagios Core
IOT09. RPi-Monitor Project
You will install and run RPi-Monitor, an embedded device monitoring tool available for the Raspberry Pi.
reference: https://xavierberger.github.io/RPi-Monitor-docs/index.html
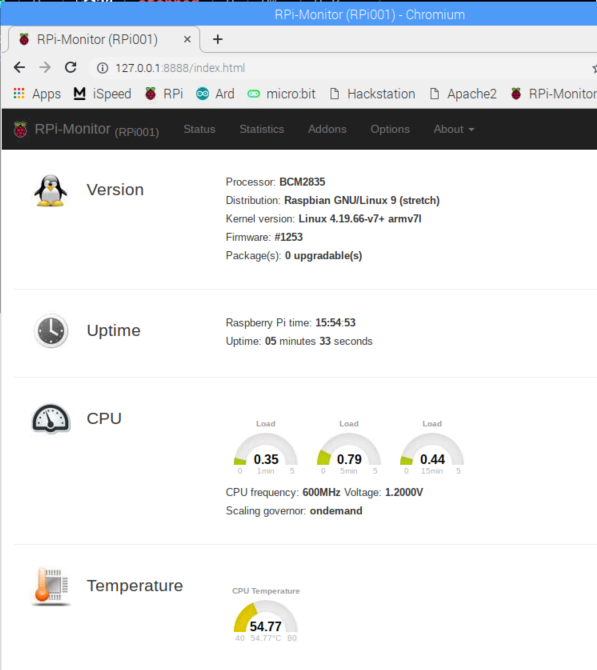 RPiMonitor Output
RPiMonitor OutputRPiMonitor
Below are additional projects, for information purposes only.
IOT10. MySQL
Below are instructions for setting up a MySQL server on the Pi.
- Install MySQL
- Boot the Raspberry Pi, make sure you have Interenet access, open a terminal and type:
sudo apt install mariadb-server -y
- In a few minutes the installation will be complete.
- Once MySQL is installed, to verify it works, in the terminal type:
sudo /etc/init.d/mysql status
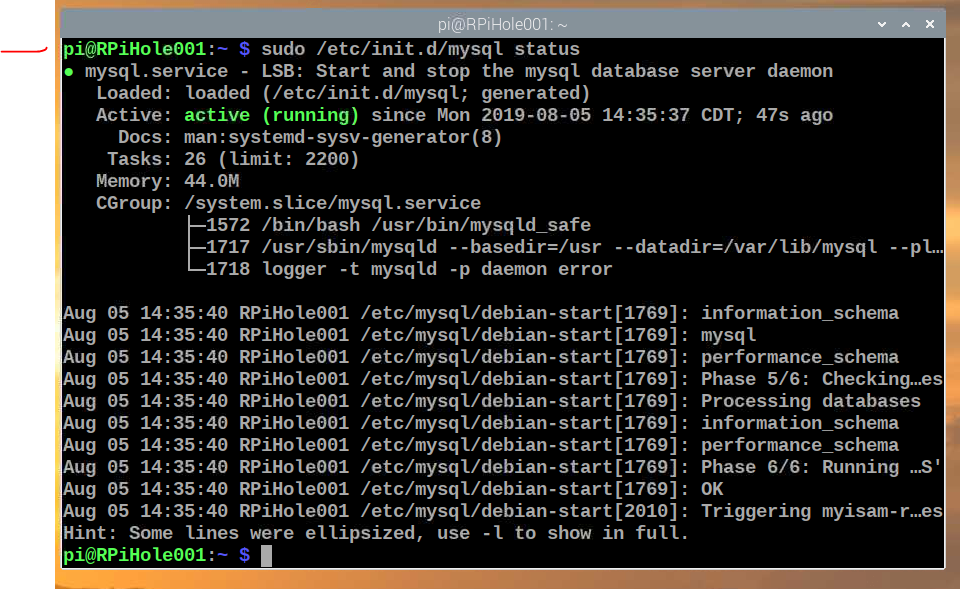 MySQL running successfully
- Log into the mysql installation, the default password is blank.
In the terminal window type:
sudo mysql -u root -p -h localhost
Press Enter when prompted for the password.
Type status to see mysql settings.
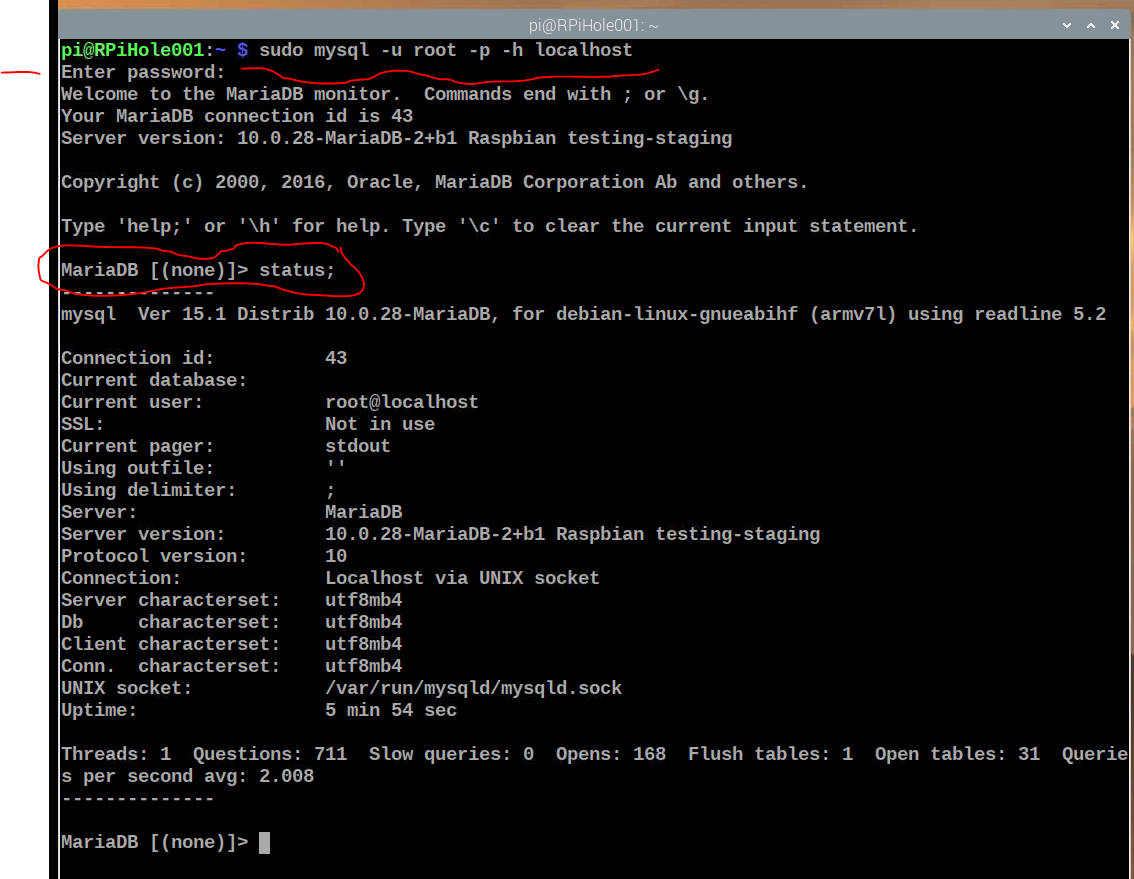 MySQL status
- Install the world sample database by opening the Chromium browser on your RPi and typing the following into the address bar:
https://dev.mysql.com/doc/index-other.html
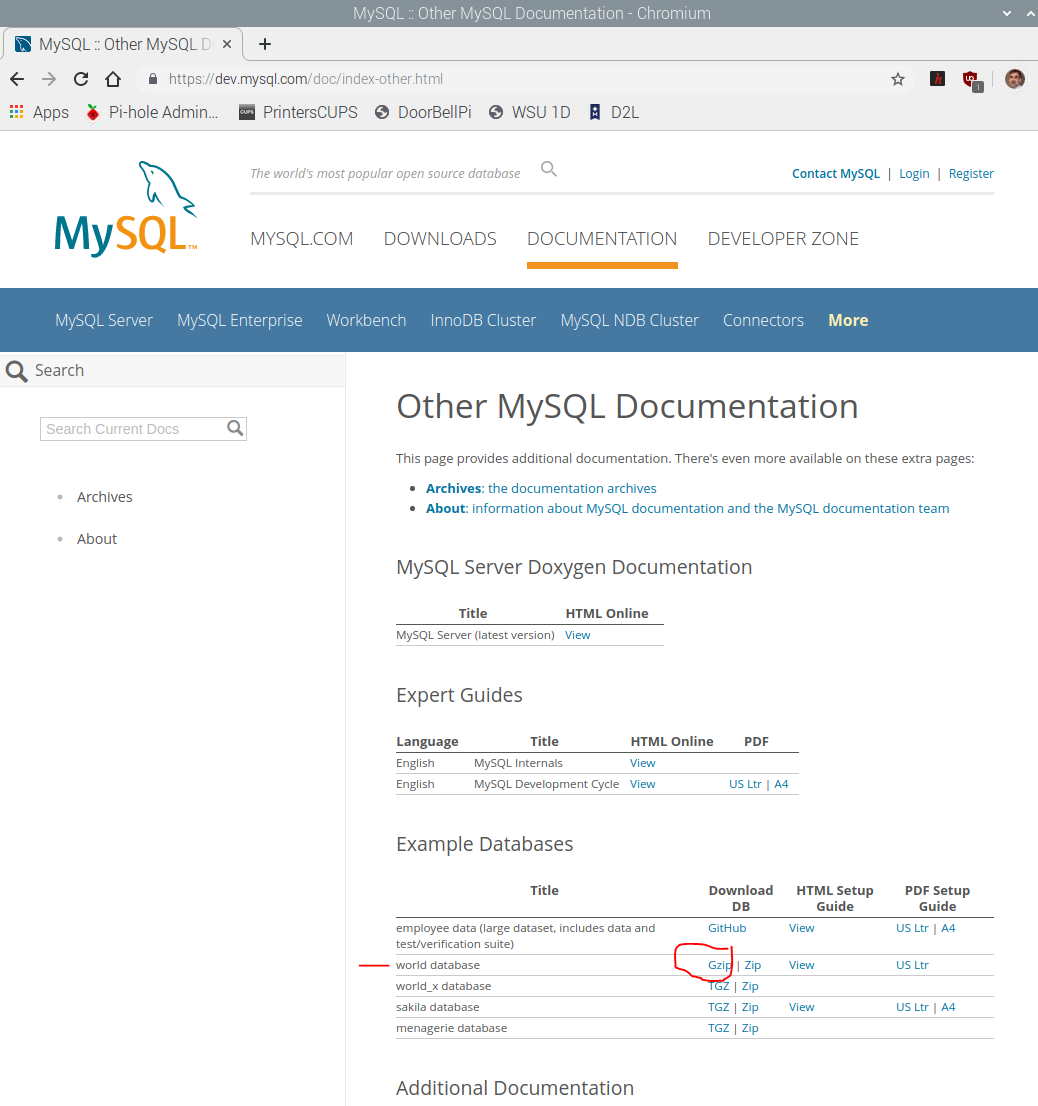 Download World Database
Then click 'Gzip', which will download the world database to the '/home/pi/Downloads' folder. - Open the folder containing the downloaded file and double click it to extract it as 'world.sql' in the '/home/pi/Documents' folder.
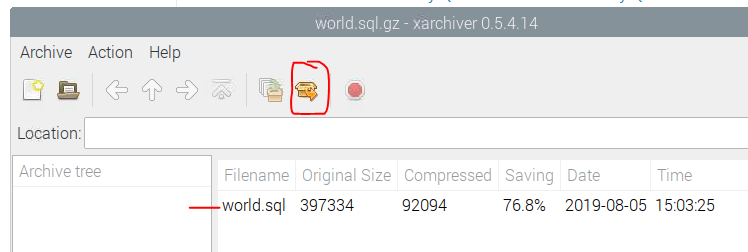 Extract World Database
- Startup MariaDB/MySQL if it is not running, and type in:
Source /home/pi/Documents/world.sql/world.sql
Note: this path command is case-sensitive. Find the exact location using File Manager.
In a few minutes you have created the three tables in the world database. - Run the show tables command, you should see three tables:
MariaDB [world]> show tables;

                        +-----------------+


                        | Tables_in_world |

                        +-----------------+


                        | city |


                        | country |


                        | countrylanguage |


                        +-----------------+


                        3 rows in set (0.001 sec)
- Experiment with commands you learned in Project 3:
SELECT COUNT(*) FROM city;

SELECT * FROM country; - Congratulatons! Your IoT device is running a database server.
With a little more work, you can use this database to collect information from sensors attached to your Raspberry Pi.
- Boot the Raspberry Pi, make sure you have Interenet access, open a terminal and type:
IOT20-Connect With ODBC
If ODBC is not installed on your laptop, do so now.
This exercise will show you how to connect to the MySQL database from another computer.
- On your laptop use a browser and go to this url to install the appropriate version, making sure to follow the instructions carefully:
https://dev.mysql.com/doc/connector-odbc/en/connector-odbc-installation-binary-windows.html
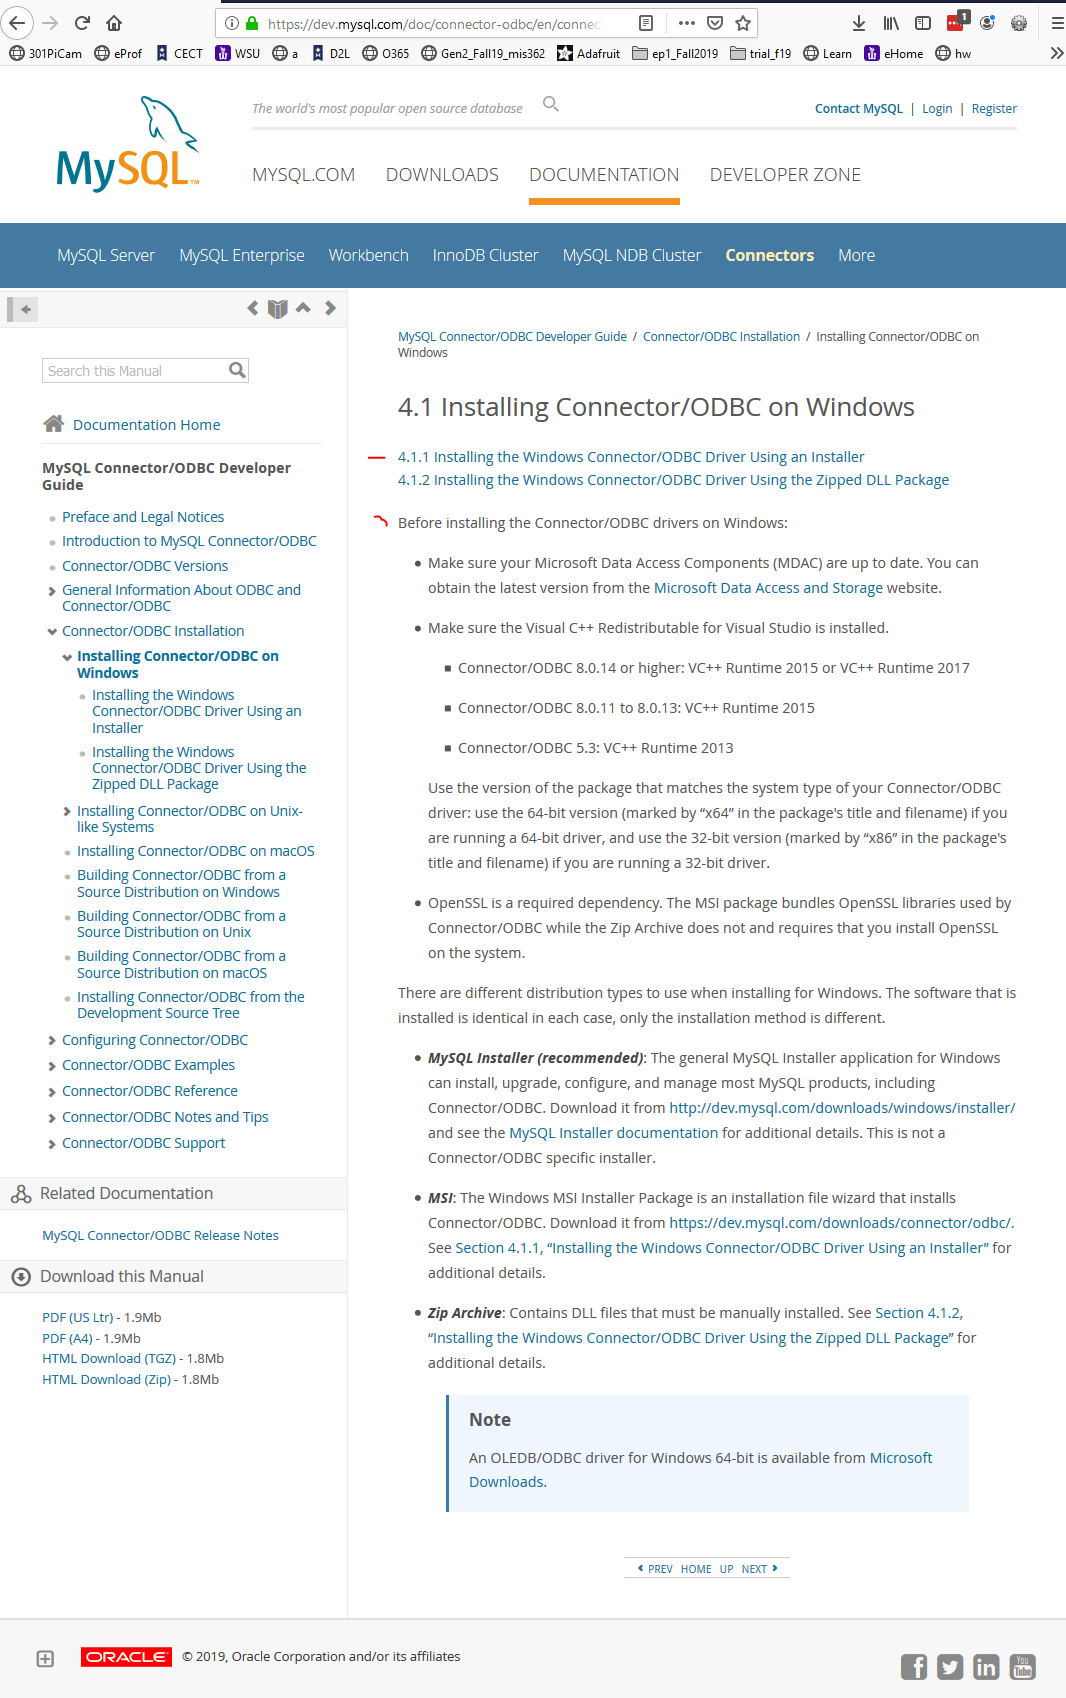 ODBC Installer
Note that you do not have to set up an account, just download and run the installer.
Use the 32 bit version of ODBC.
- Once installed, click Start, type in 'ODBC', find the 32 bit version and select 'Run as Administrator'
- Under the System DSN tab, Add a new Data Source, using the MySQL ODBC 8 driver.
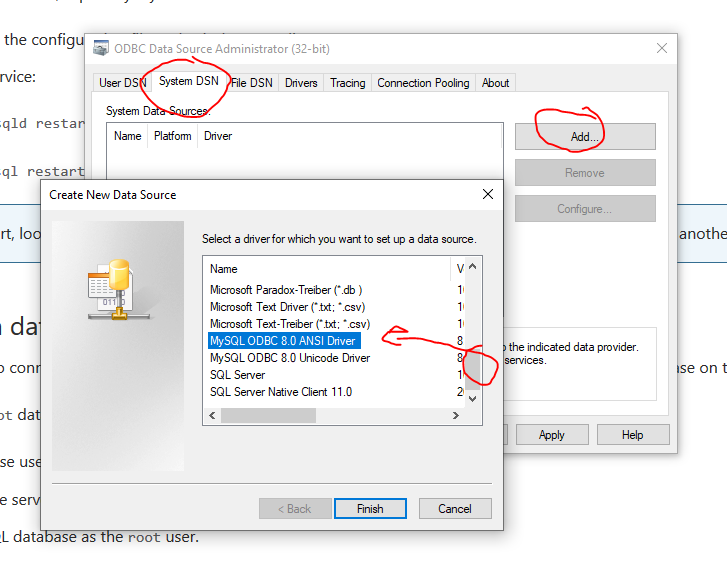 ODBC Installer
- Set the following parameters to establish your connection, realizing your values will be different:
 ODBC Setup
Make screen shots of the MySql installation and upload to the D2L Project04 Assignment folder.